


✈ Free Shipping Worldwide
on orders over $75
Hey there, DIY daredevils! If you’re ready to ditch the mass-produced shades and step into a world of personalized coolness, you’re in for a treat. We’re about to embark on a journey to create your very own pair of wooden sunglasses. Yep, you read that right – wooden sunglasses that are not only stylish but also a testament to your unique taste and craftsmanship. So, grab your tools and unleash your inner artisan, because we’re diving headfirst into the art of crafting wooden sunnies!
Why Wooden Sunglasses?
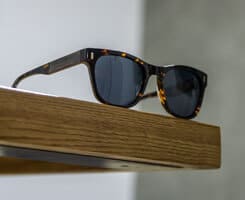
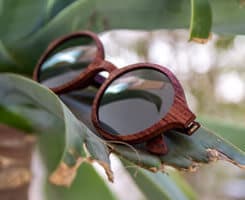
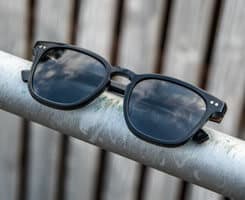
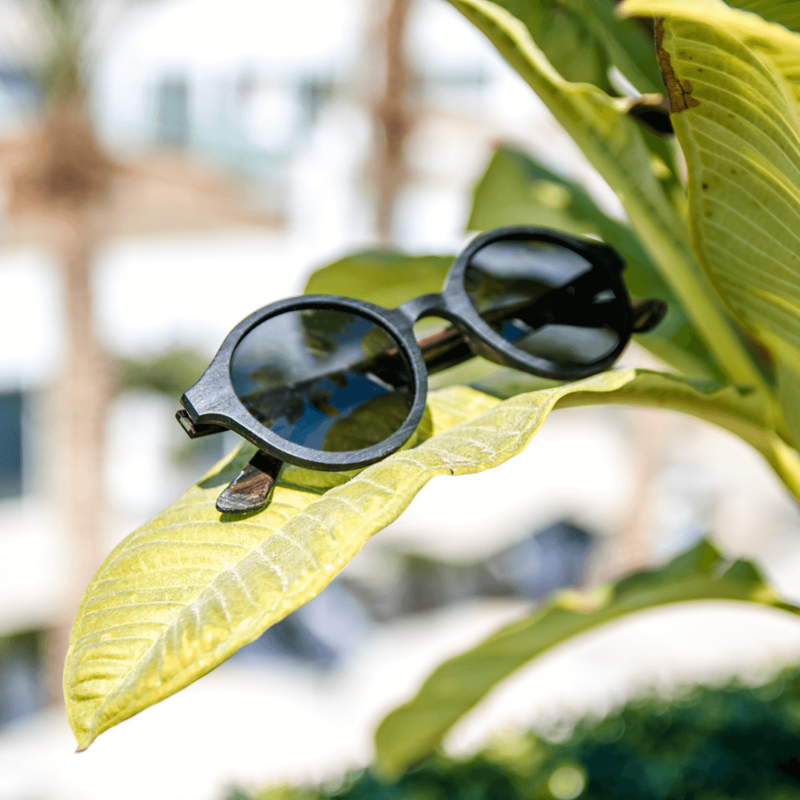
Before we get our hands dirty, let’s talk about the allure of wooden sunglasses. They’re like a piece of nature’s finest art, perched right on your nose. These shades are a fresh departure from the ordinary, a chance to stand out from the crowd with a touch of rustic elegance. Plus, crafting your own pair adds a sprinkle of sentimentality – your personal touch carved into every grain.
Materials You’ll Need:
Let’s gather the tools of the trade. Here’s what you’ll need:
- Wooden sheets (preferably thin yet sturdy)
- UV-protective lenses
- Hinges for the arms
- Screwdriver
- Sandpaper (various grits)
- Wood glue
- Clamps
- A saw (band saw or coping saw)
- Files for shaping
- Varnish or sealant for a polished finish
- Nose pads (optional, for extra comfort)
Step-by-Step Guide:
Note: Safety first! Make sure to wear protective gear like gloves and safety goggles.
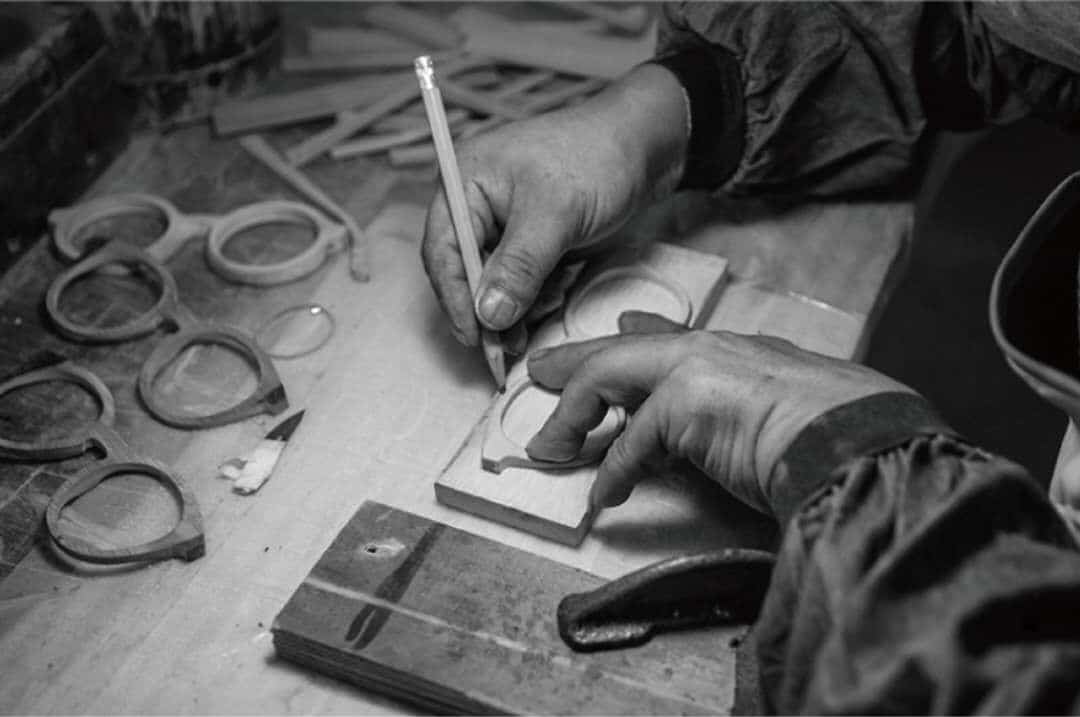
1. Design Your Frames:
Draw the shape of your frames on the wooden sheet.
Use your artistic flair to create the outline you desire.
2. Cutting and Shaping:
Carefully cut out the frame shape using a saw.
Smooth out the edges and refine the shape using files and sandpaper.
3. Nose Bridge and Hinges:
Cut a small piece of wood for the nose bridge.
Attach hinges to the sides of the frames using a screwdriver.
4. Lens Insertion:
Gently insert the lenses into the frames.
Ensure a snug fit while taking care not to damage the lenses.
5. Arm Attachment:
Apply wood glue to the hinges and attach the arms.
Use clamps to secure the arms in place while the glue dries.
6. Finishing Touches:
Sand the entire frame for a smooth surface.
Apply a coat of varnish or sealant to protect and enhance the wood’s natural beauty.
7. Optional Customization:
Get creative! You can engrave designs, patterns, or your initials.
Attach nose pads for added comfort.
Tips for Success:
- Patience is your best friend. Take your time with each step.
- Measure twice, cut once – accuracy is key.
- Experiment with different types of wood for varying shades and textures.
- Practice shaping and sanding on scrap pieces before working on your frames.
Why Choose Us for Your Sunglasses:
While crafting your own wooden sunglasses can be a rewarding adventure, we understand that not everyone has the time, tools, or inclination to embark on such a DIY project. That’s where we come in. Our collection of handcrafted wooden sunglasses marries the elegance of wood with expert craftsmanship, bringing you a stunning array of shades that capture the essence of nature and style.
With us, you don’t just get a pair of sunglasses; you get a piece of art meticulously designed to accentuate your unique fashion statement. Our experienced artisans pour their expertise into every pair, ensuring unmatched quality, comfort, and durability. Whether you’re exploring the great outdoors or simply strolling downtown, our wooden sunglasses make a lasting impression while protecting your eyes from the sun’s rays.
So, while we applaud your creative spirit and DIY enthusiasm, we invite you to explore our range of wooden sunglasses that embody the same essence – style, sustainability, and a connection to nature. With us, you’re not just buying sunglasses; you’re investing in a wearable work of art that’s ready to embrace the world with you. Join us on this journey of timeless style and eco-conscious elegance. Your perfect pair of wooden sunglasses awaits!